Barnestorm Cloud Share
Barnestorm Cloud Share is a repository for all patient documents, whether lab results, signed admission forms, or any other document you previous kept in paper form - all paper documents can be scanned in to become part of the patient Electronic Health Record in Barnestorm.
With Cloud Share, you can upload any patient document and email a secure link to anyone outside of the agency, whether patient, caregiver, therapist, provider, or physician.
Cloud Docs Features
Barnestorm Cloud Share is a secure electronic health record (EHR) storage and communication system that provides for electronic storage, retrieval, and secure sending of all patient records for all patients, providers, and approved caregivers.
- Quickly view all documents listed for a particular patient.
- Collect signed documents and automatically upload them.
- Secure online repositories for not only patient documents, but, employee documents, agency documents, training documents, and many more.
- Save employee and patient profile pictures.
- Save wound images and other pictures to accompany visit documentation.
- Store admission packages and allow them to be branded with your logo and text.
- Allows inter-office emailing of documents and images.
- Create a shared document with a time expiration on sharing.
- Provides a smoother interface for interacting with documents.
Cloud Share Interface
- You can drag and drop files directly onto the screen.
- Email files and add descriptions to files.
- Includes repositories for Employees, Agency and Public documents. You can also create custom repositories to store documents.
- Versioning for all files. Accidentally overwrite a file? We can roll back to previous versions in just a couple clicks.
Instructions for Cloud Docs Users – Uploading Documents
You can drag and drop files into the screen instead of having to select them. This is particularly useful when you add a lot of documents at once.
Avoid using special characters when naming documents. An underscore is a valid character.
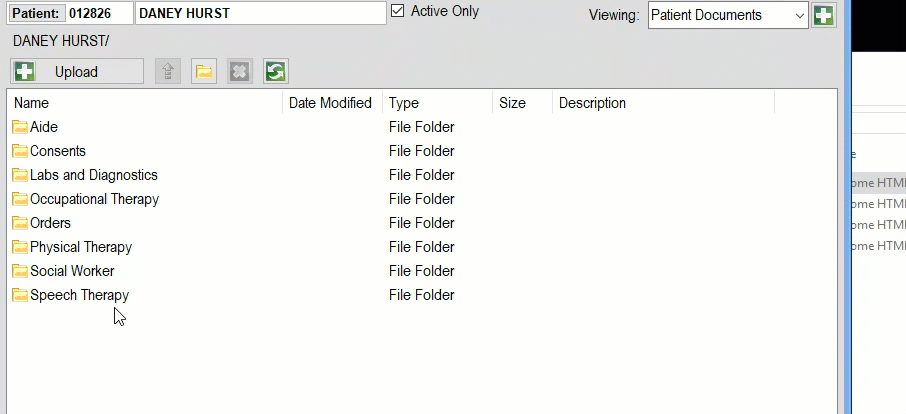
This feature is located in Barnestorm Office under Patient Histories > Documents; Point of Care on the Main Menu.

Patient: Select a patient by keying in the six-digit chart or search by name. Uncheck the Active Only checkbox to include discharged patients in the search.
Viewing: Select which repository you wish to pull up. The default is the Patient Documents. You can add customer folders by selecting the green plus sign next to the Viewing field.
To view a document double click on the folder you wish to open then double click on the file you need to view.
Tool Bar: Includes an icon to upload a file manually, the up arrow takes you to the previous folder selected, yellow folder allows you to create a new folder in the location currently pulled up, the x will delete the file/folder selected, and the green arrows will refresh the screen you have pulled up.
Click and Drag Files
From your scanned folder you can click and drag the files over into the Documents folder needed. Select one file at a time or select multiple files by pressing the Ctrl key while selecting files to highlight, then drag into the Documents folder in Barnestorm.
Upload Files Manually
After you have the patient pulled up you can double click on the folder to upload a file. Click on the Upload button then locate the folder of your scanned documents. Double click on a single file to upload or press the Ctrl key while selecting multiple files to upload. Click on the Open button if you are selecting multiple files.
When you want to view and add employee documents, access the Documents screen, select Employee Documents in the upper right, and then type the first three letters of the last name of the employee in the upper middle of the screen. The employee folders will come up.
Add a Description to a File Name
You can add a description to each file name. Right click on the file and left click on Add Description. Type in a description name and then click on the Save icon.
Cloud Uploader
You can upload a previewed document within Barnestorm to the Cloud. From the preview screen you’ll have a taskbar at the top to ‘Upload to Portal’.
- You will select the repository first; Agency, Doctor, Patient, etc.
- Then you can select a folder within that location.
- Rename the file, as needed.
- Click on Upload.
- The document will show up in the Documents Cloud location you selected.